It's just about that time of year for most people to start thinking about the upcoming repotting season. Here in Los Angeles we've been at it for 2 months already! I figure now is a good time to do a comprehensive post on repotting.
First things first you should have everything you need at hand before starting. There's nothing worse then having a tree out of the pot and not finding your screen for the holes, or that your don't have enough soil mix, etc..
What we have above is premixed soil-more on the mix later- a sieve and scoop,a bamboo brush, wire cutters, pliers, hose for protecting roots from tie wires, a trowel, scissors, root cutter and a chop stick. Not pictured are tie wires and screens for the drain holes but more on that in a bit .
The tree we're going to work on today is a San Jose Juniper then I've been working on for about 7-8 years from a 15 gallon sized plant. It's been repotted a number of times so it has a good root system. Here it is before any work.
And after a quick trim.
Ok so I have everything ready and have decided I'm going to put this in a little shallower pot. So before I do anything to the tree I want to prepare my pot. First I wash it out. Next I cut some wire screen to cover the drainage holes. Then I prepare the clips to hold the screen in. The photos below show this process step by step.
Start with a piece of wire several inches long.
Bend to form a S shape.
Bend one leg over one end leaving a little tab. Do the same on the other side.
Make sure the space between legs is the same as the size of the hole. Its important that the legs rest against the wall of the pot so the screen doesn't get pulled out while tying the tree in later.
Bend the legs down so so have two legs, with the tabs flat.
Put though screen then through drain hole. Note the wire is right on the edge of the pot.
From inside the pot.
Next we're going to put in the tie wires. I always use two wires.
The wires get place through the bottom of the pot up through the drain holes and screen. Again it is important that the wire be on the wall of the pot.
I put the wires in so that one side is longer then the other. I do the same with the second wire making sure that the long side is opposite the short side of the first wire.
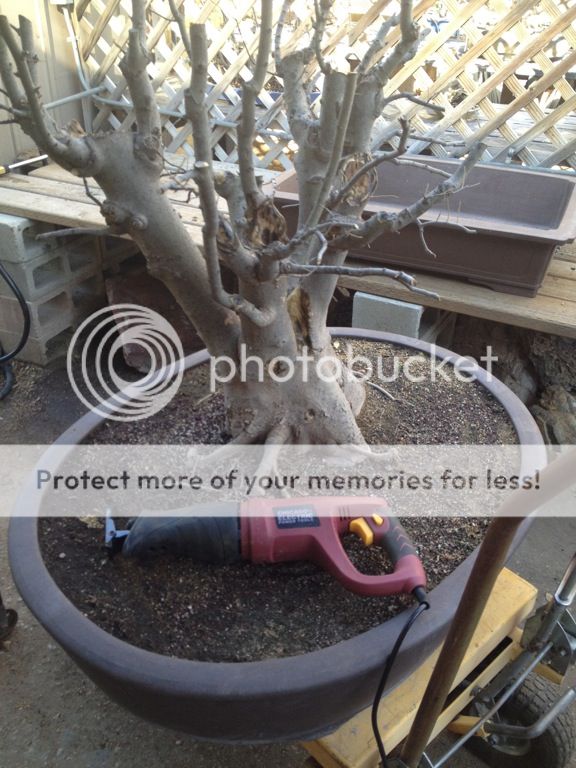
Now the pot is ready. Before I can take the tree out I cut the tie wires and
I use a repotting sickle to loosen the tree from the sides of the pot.
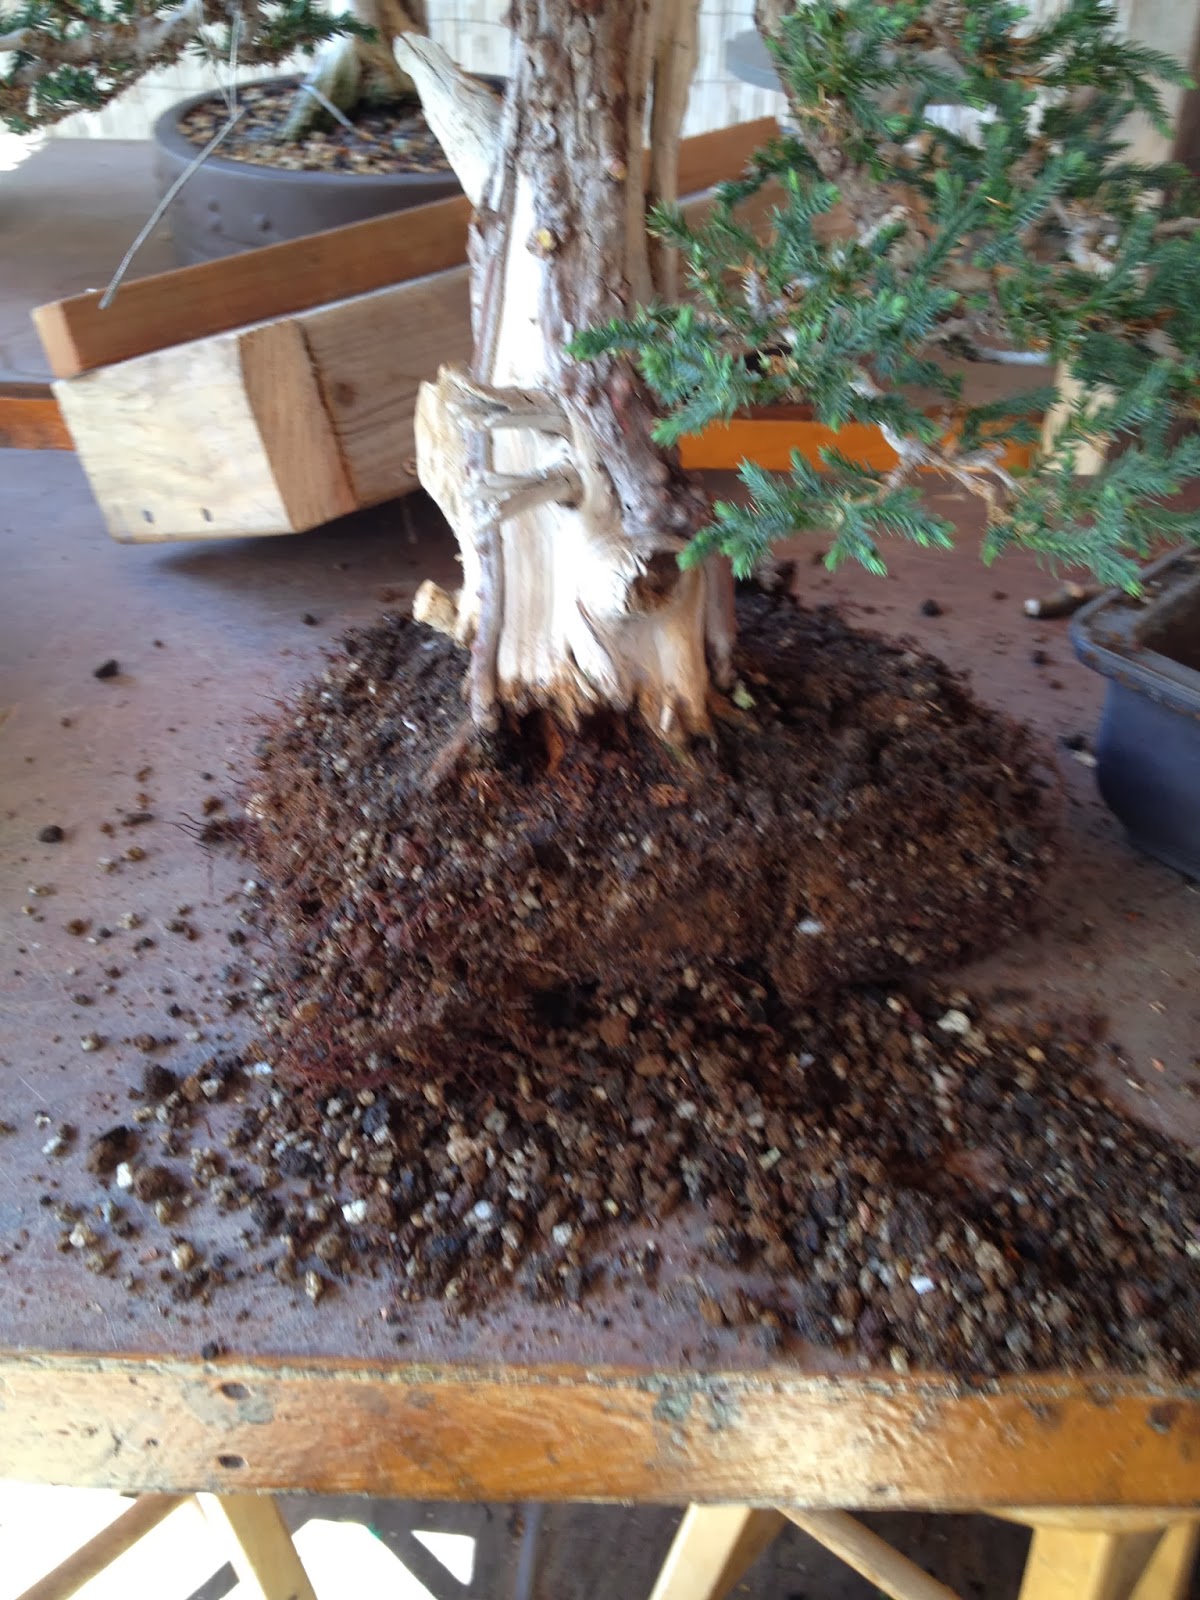
Once loosened the tree is gently pulled from the pot disturbing the roots as little as possible.
As can be seen below the root ball is still intact.
If I were using the same pot I would remove the tree and cover the roots with wet towels while preparing the pot.
Next using a chop stick I remove some of the old soil from the top of the rootball. This is important because it removes old crusted fertilizer, old compacted soil etc.. Also if there are a lot of fine roots on the top of the rootball that means I can probably take a little more from the bottom.
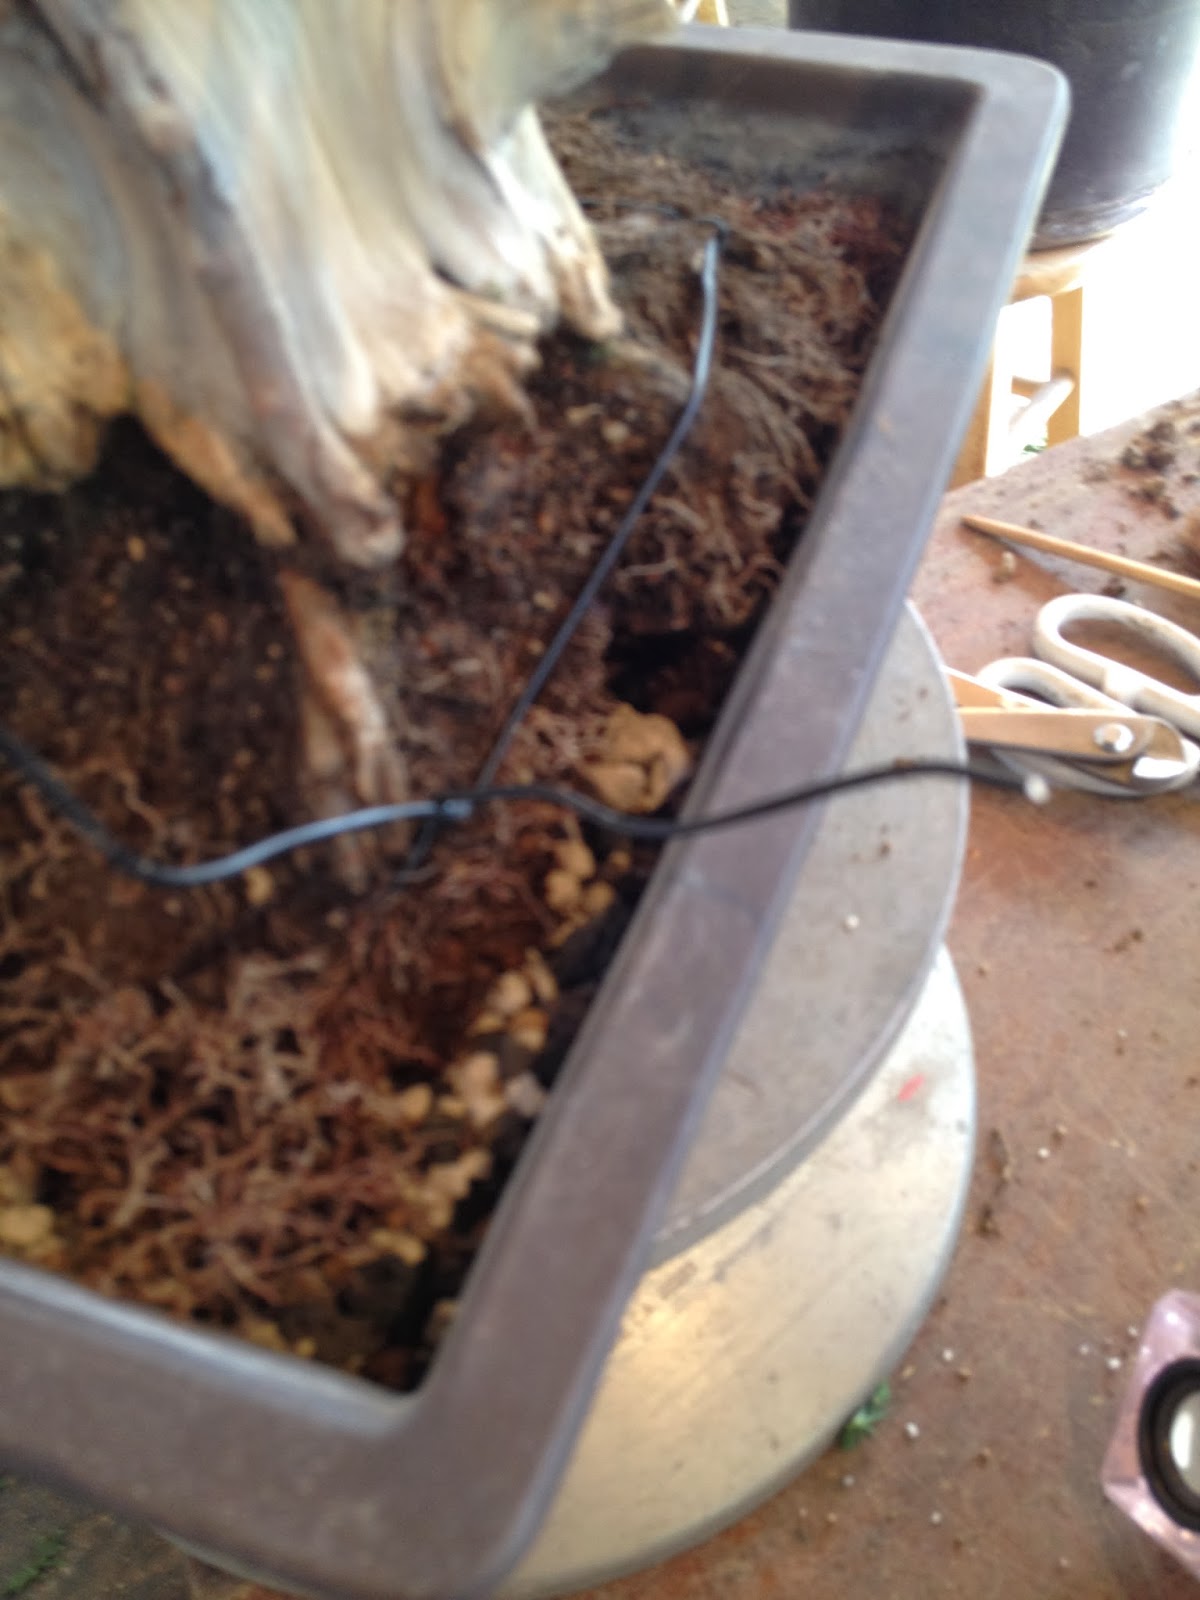
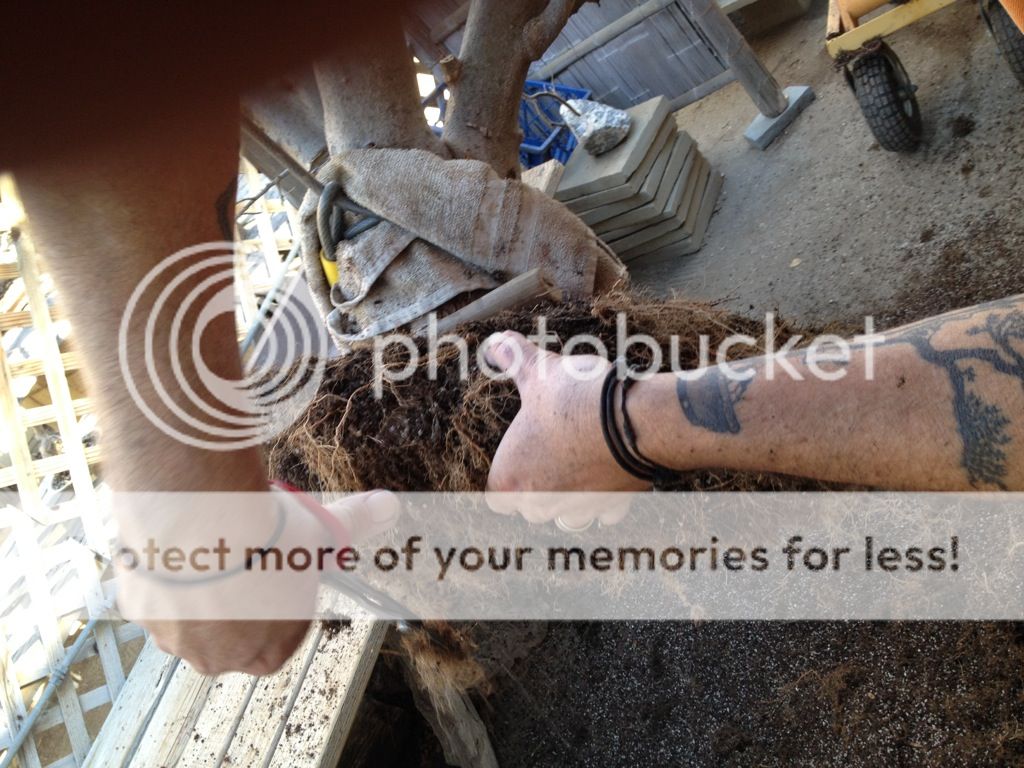
After cleaning the top I start to gently comb out the sides of the rootball then the bottom. As you can see there are lots of nice healthy roots hanging from the sides but not too many straight down from the bottom.
After trimming the long roots we are left with a perfect rootball. Relatively small, flat and filled with healthy fine feeder roots. This is the result of several proper transplants.
As you can see the new pot is considerably shallower then the old one.
I place the tree in the pot to be sure it'll fit and have room for new soil.
Then I remove the tree, put a layer of soil in the bottom of the pot and a mound in the center. The reason for the mound is that there is a little depression right under the trunk from removing the old nursery soil.
Even though we screen the soil when we make itI like to screen one more time just before I use it.
I place the tree on top of the mound of soil and really work it down by pushing and twisting side to side to make sure the soil fills any voids there may be.
Next I check it's position in the pot making sure it is the way I want it to be.
I check again that there is room all around for new soil and the position one final time.
Next is tying the tie into the pot. I use number 2 aluminum wire and place them as described earlier.
Always make sure that each wire is tied to itself not the other wire. This way when you pull the slack out you are tightening the wire. I take the long end of a wire , bring it across the front of the rootball and tie it to the short end of the same wire.
Then I do the same thing on the opposite side. I pull the slack out of the wires relax the pressure a bit a twist them together until tight. Releasing the pressure when twisting lessens the chance of breaking the wire .
You'll notice that there are two pieces of wire sticking up on both sides and opposite ends of the rootball. Cut one off and attach it to the wire on the other side of the pot so it looks like the picture below.
Then take those two wires pull them across the rootball and tie to each other.
Do the same on the other end. The result is that your rootball is firmly tied into the pot on all four sides as shown below.
Now add soil and work in with a chop stick being sure to fill any voids.
After the soil is worked in finish by going around the edges with a trowel is insure there is a lip to catch the water all around the pot. If there is no lip because of too much soil a lot of water just runs over the edge.
There should be absolutely no movement if the tying was done correctly.
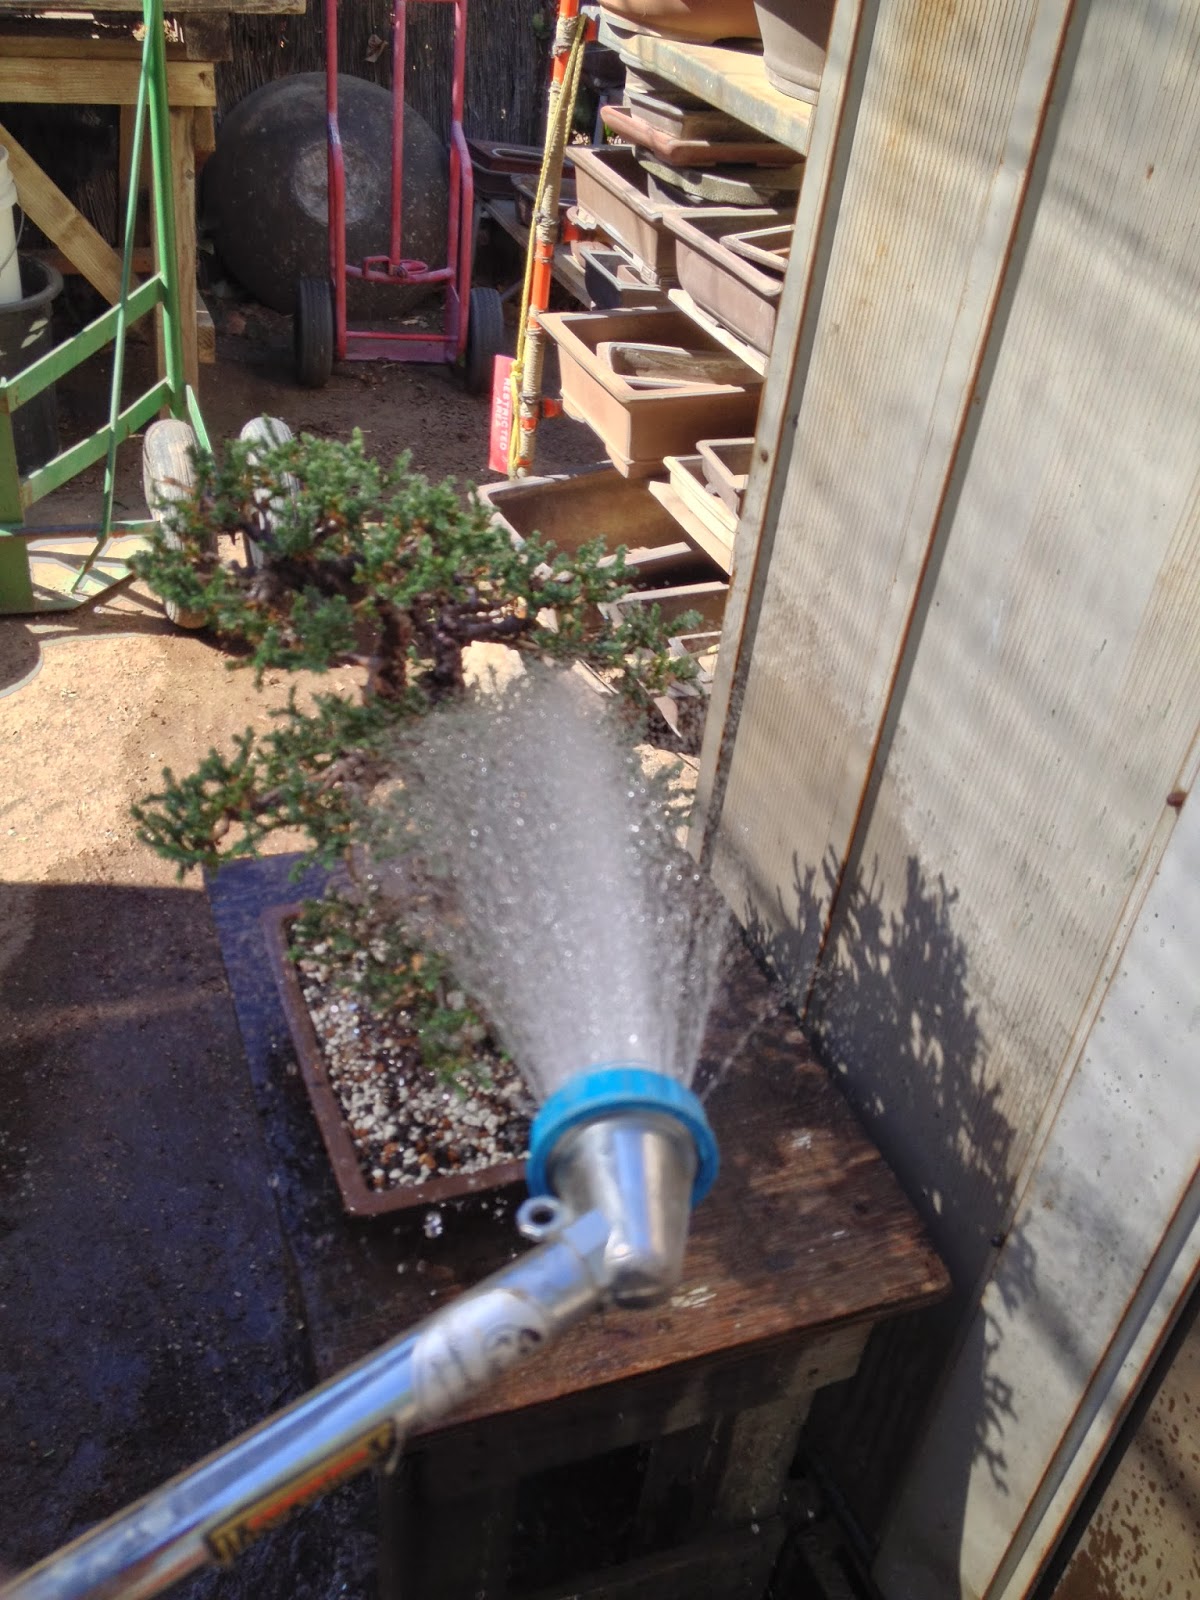
Now water thoroughly including the foliage. Water until the water is coming out of the bottom of the pot, clear, as fast as you're putting it in. When the water is clear it means any leftover dust is flushed out.
And that is how you repot a bonsai.
A word about soil mixes- there are a jillion mixes used for bonsai. Everyone has to find their favorite based on local product availability, need for water retention or drainage and a bunch of other factors. For me on my conifer bonsai I use the following- 1 part small akadama, 1 part large akadama, 2 parts lava rock and two parts washed pumice- this works for me very well.
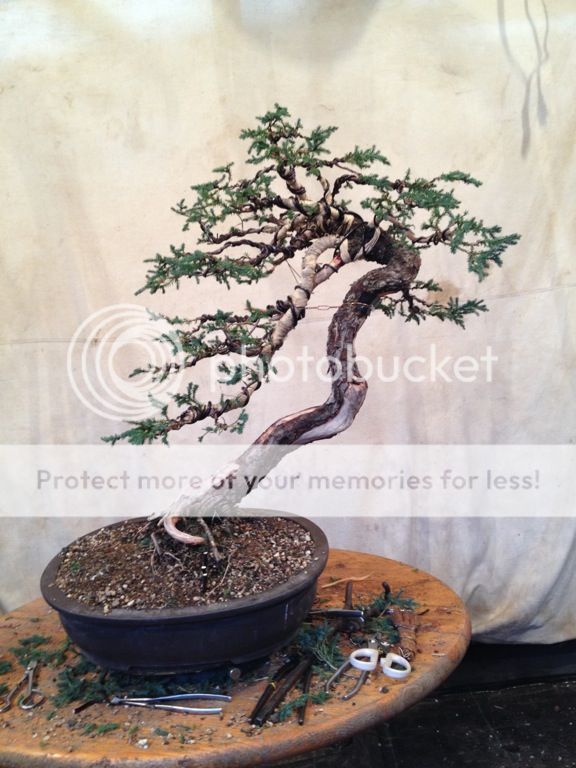
Here is the tree after it's haircut and repotting.
I hope that you all find this post useful. As always I welcome any comments or suggestions for future posts. Until next time.....